Emphasis on Your Photos 10 Easy Ways in Digital Scrapbooking
A digital scrapbook is a far cry from the old-fashioned kind that your grandma used to keep. With all of the new technology at our fingertips, it’s easy to make your photos really stand out in a digital scrapbook. Here are 10 easy ways to make your photos pop in a digital scrapbook:
1. Use a big, bold title. A big, bold title will help your photos stand out on the pages of your scrapbook.
2. Use plenty of white space. White space is your friend when you’re trying to make your photos stand out.
3. Use color. A little bit of color can go a long way in making your photos stand out.
4. Use interesting fonts. Interesting fonts can help your photos stand out and add personality to your pages.
5. Use embellishments sparingly. A few well-placed embellishments can really make your photos stand out.
6. Use shadows. Shadows can help your photos stand out and give them a bit of dimension.
7. Use borders. Borders can help to frame your photos and make them pop.
8. Use perspective. Use different angles and perspectives to add variety, interest and focus.
1. Start with a great photo 2. Crop to emphasize the subject 3. Use a simple background 4. Use a complementary frame 5. Add a drop shadow 6. Create a title that tells the story 7. Use embellishments sparingly
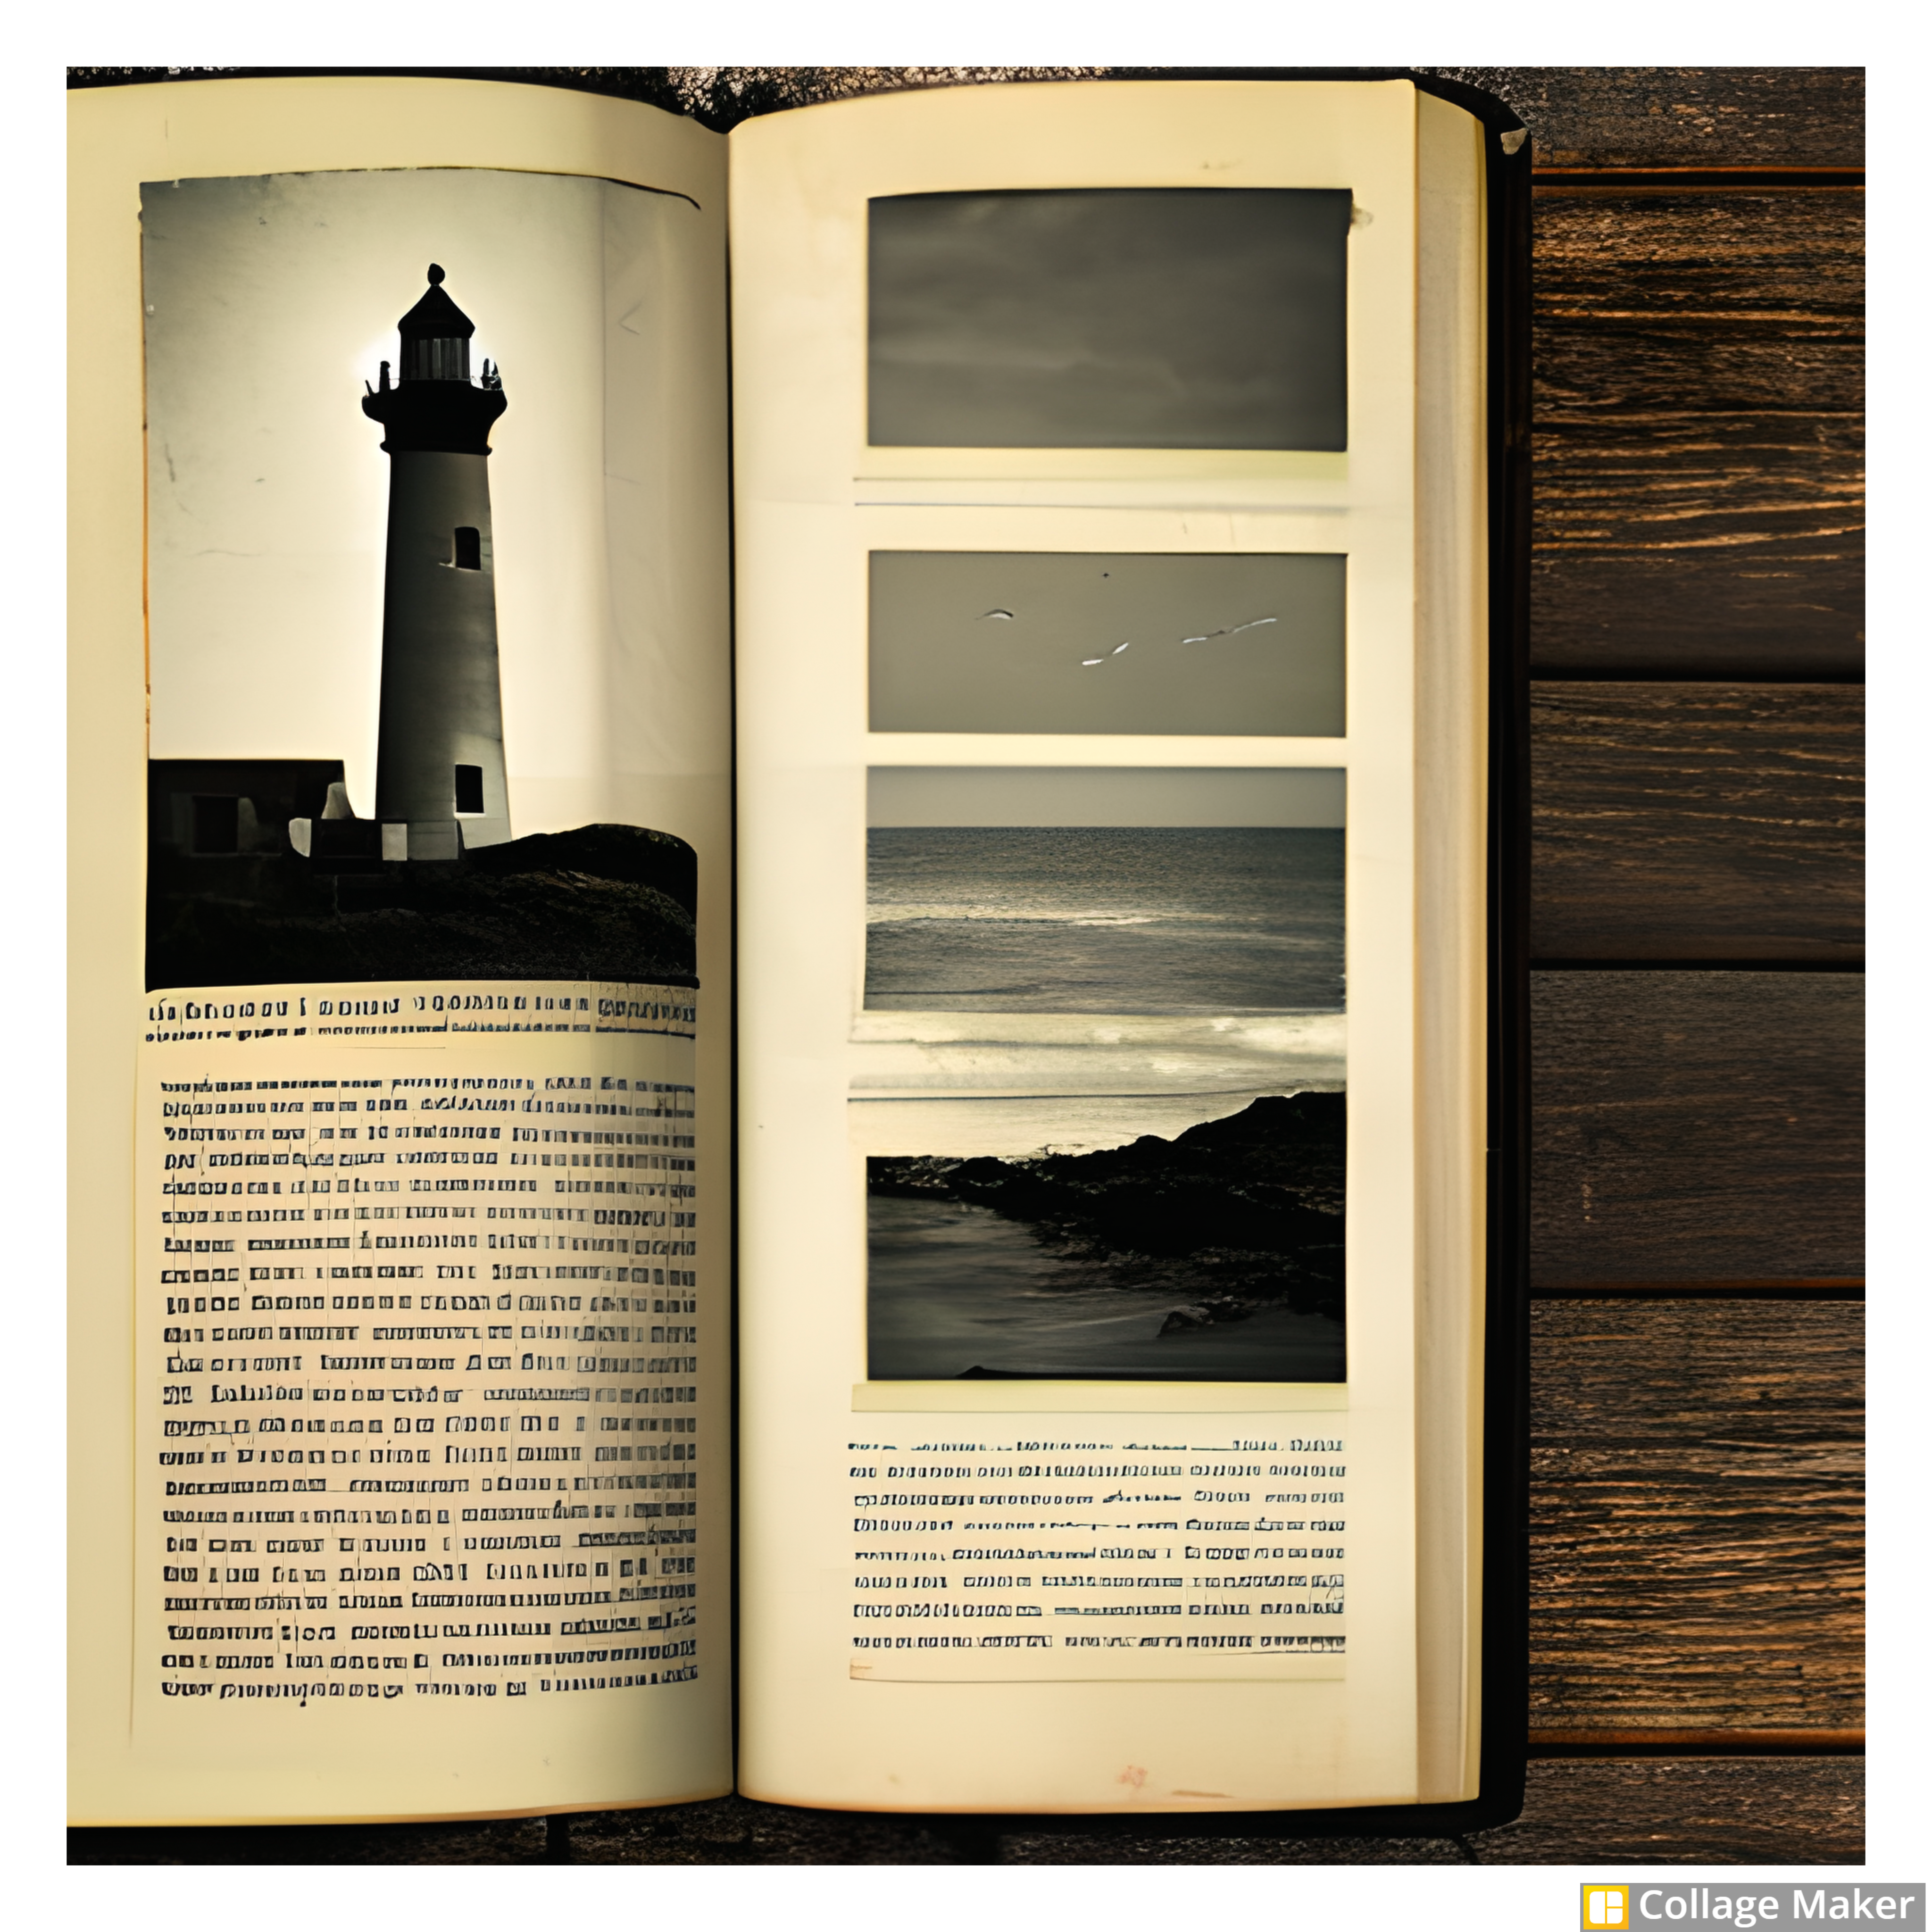
If you want to create a digital scrapbook that really pops, then you need to start with great photos. But what makes a great photo? Here are a few things to look for: First, the image should be well-composed. This means that the subject should be centrally positioned and there should be some negative space around it. It should also be in focus and have good lighting.
Second, the image should tell a story. A great photo will capture a moment in time that you will want to remember forever. This could be a special event like a wedding or vacation, or just a moment with friends or family.
Third, the it should be visually interesting. This could mean that it has great colors or interesting textures. It could also be a close-up of a person or animal, or a wide shot of a landscape. Finally, the photo should evoke emotion. A great image will make you feel something when you look at it. It should be something that makes you happy, sad, or even just nostalgic.
So when you are looking for photos to use in your scrapbook, keep these things in mind. If you can find images that have all of these elements, then you are sure to create a scrapbook that will be cherished for years to come.
2. Emphasis by cropping the subject
One way to emphasize the subject of your photo is to crop the image.
This can be done in a number of ways, but one easy way is to use the “Rule of Thirds”. The Rule of Thirds is a principle that is used in photography and other forms of visual composition. It states that an image should be divided into thirds, both horizontally and vertically, and that the subject should be placed on one of the intersections.

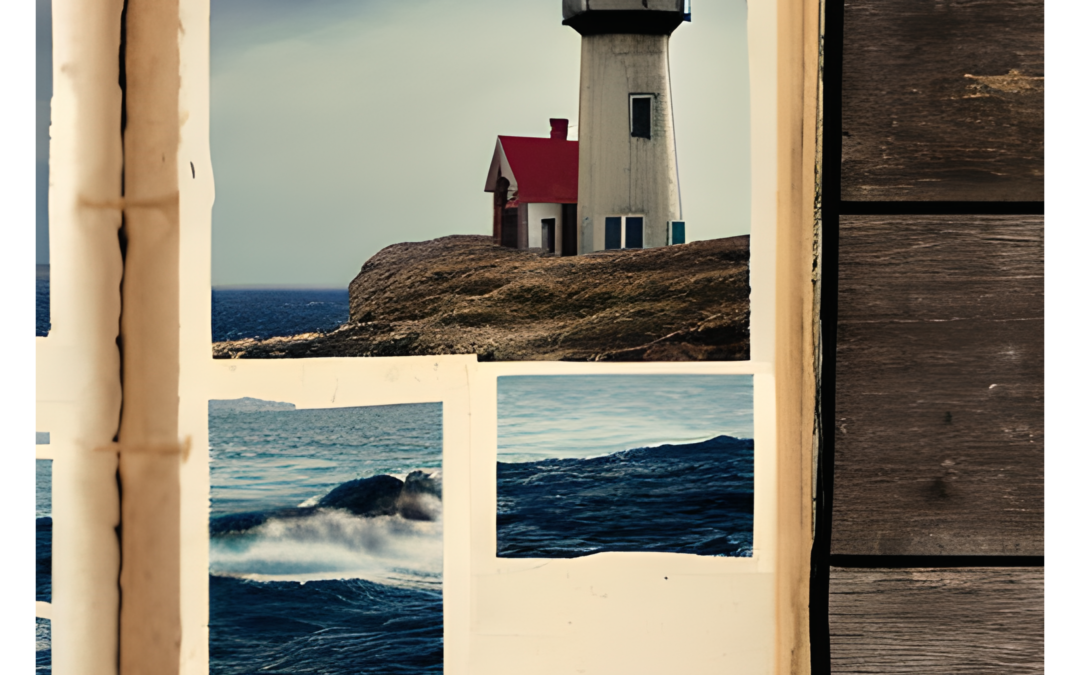
A tight crop and a simple background. All images Bina Greene.
This can help to create a more pleasing and balanced image. Another way to crop your photo is to zoom in on the subject. This will help to bring the focus of the image to the subject and make it stand out more. You can also try cropping the image in a different shape, such as a circle or a heart. This can help to make the subject of the image more prominent.
Here is a great freebie to help you with this.
3. Emphasis by Use of a simple background
In digital scrapbooking, one easy way to emphasize your photos is to use a simple background. A busy or cluttered background can be distracting, and it can be difficult to know where to focus your attention. A plain background allows the image to be the star of the show. You can use a solid color background, or you can use a light-colored or textured background. If you choose a textured background, make sure it is not too busy or detailed, as that will again take away from the photo.
A light-colored background can help to make your photo pop, especially if it is a darker photo. Another way to make sure your photo is the focal point is to leave some white space around it.
This gives your eye a place to rest, and it makes the photo seem more important. You don’t want to have your photo so close to the edge of the page that it feels like it’s about to fall off. Leaving some white space also allows you to add journaling or other elements around the photo without making the page feel too busy.
So, if you want to emphasize your photos in digital scrapbooking, try using a simple background. A solid color, light-colored, or textured background can help your photos stand out, and leaving some white space around the photo will give it a feeling of importance.
Here is a link to the book maker, an easy way to emphasize your images.
4. Use a complementary frame to create emphasis
One way to emphasize your photos in digital scrapbooking is to use a complementary frame. This can be done by adding a border around the images, using a different color for the frame, or adding embellishments to the frame. By doing this, you will make them stand out more and it will be easier to scrapbook. Another way to emphasize your images is to use a drop shadow.
This can be done by adding a layer behind the photo and then adding a shadow to that layer. You can also use a layer mask to add a shadow to the image. By doing this, you will make the photo stand out more and it will be easier to scrapbook. You can also use a lens flare to emphasize your images. This can be done by adding a light source to the image.
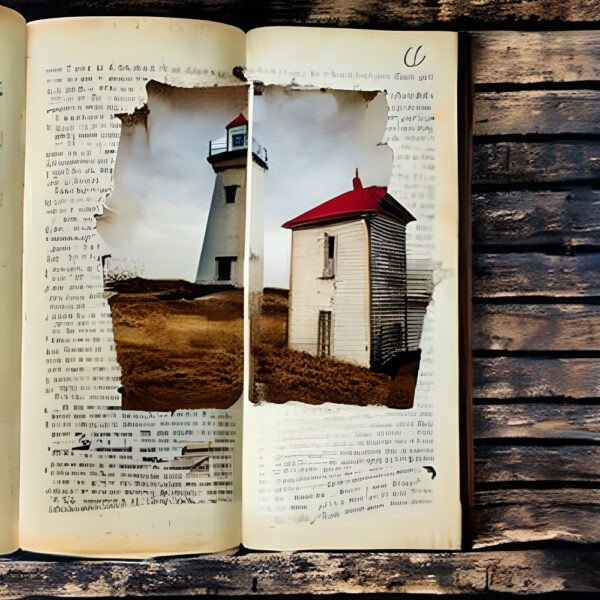
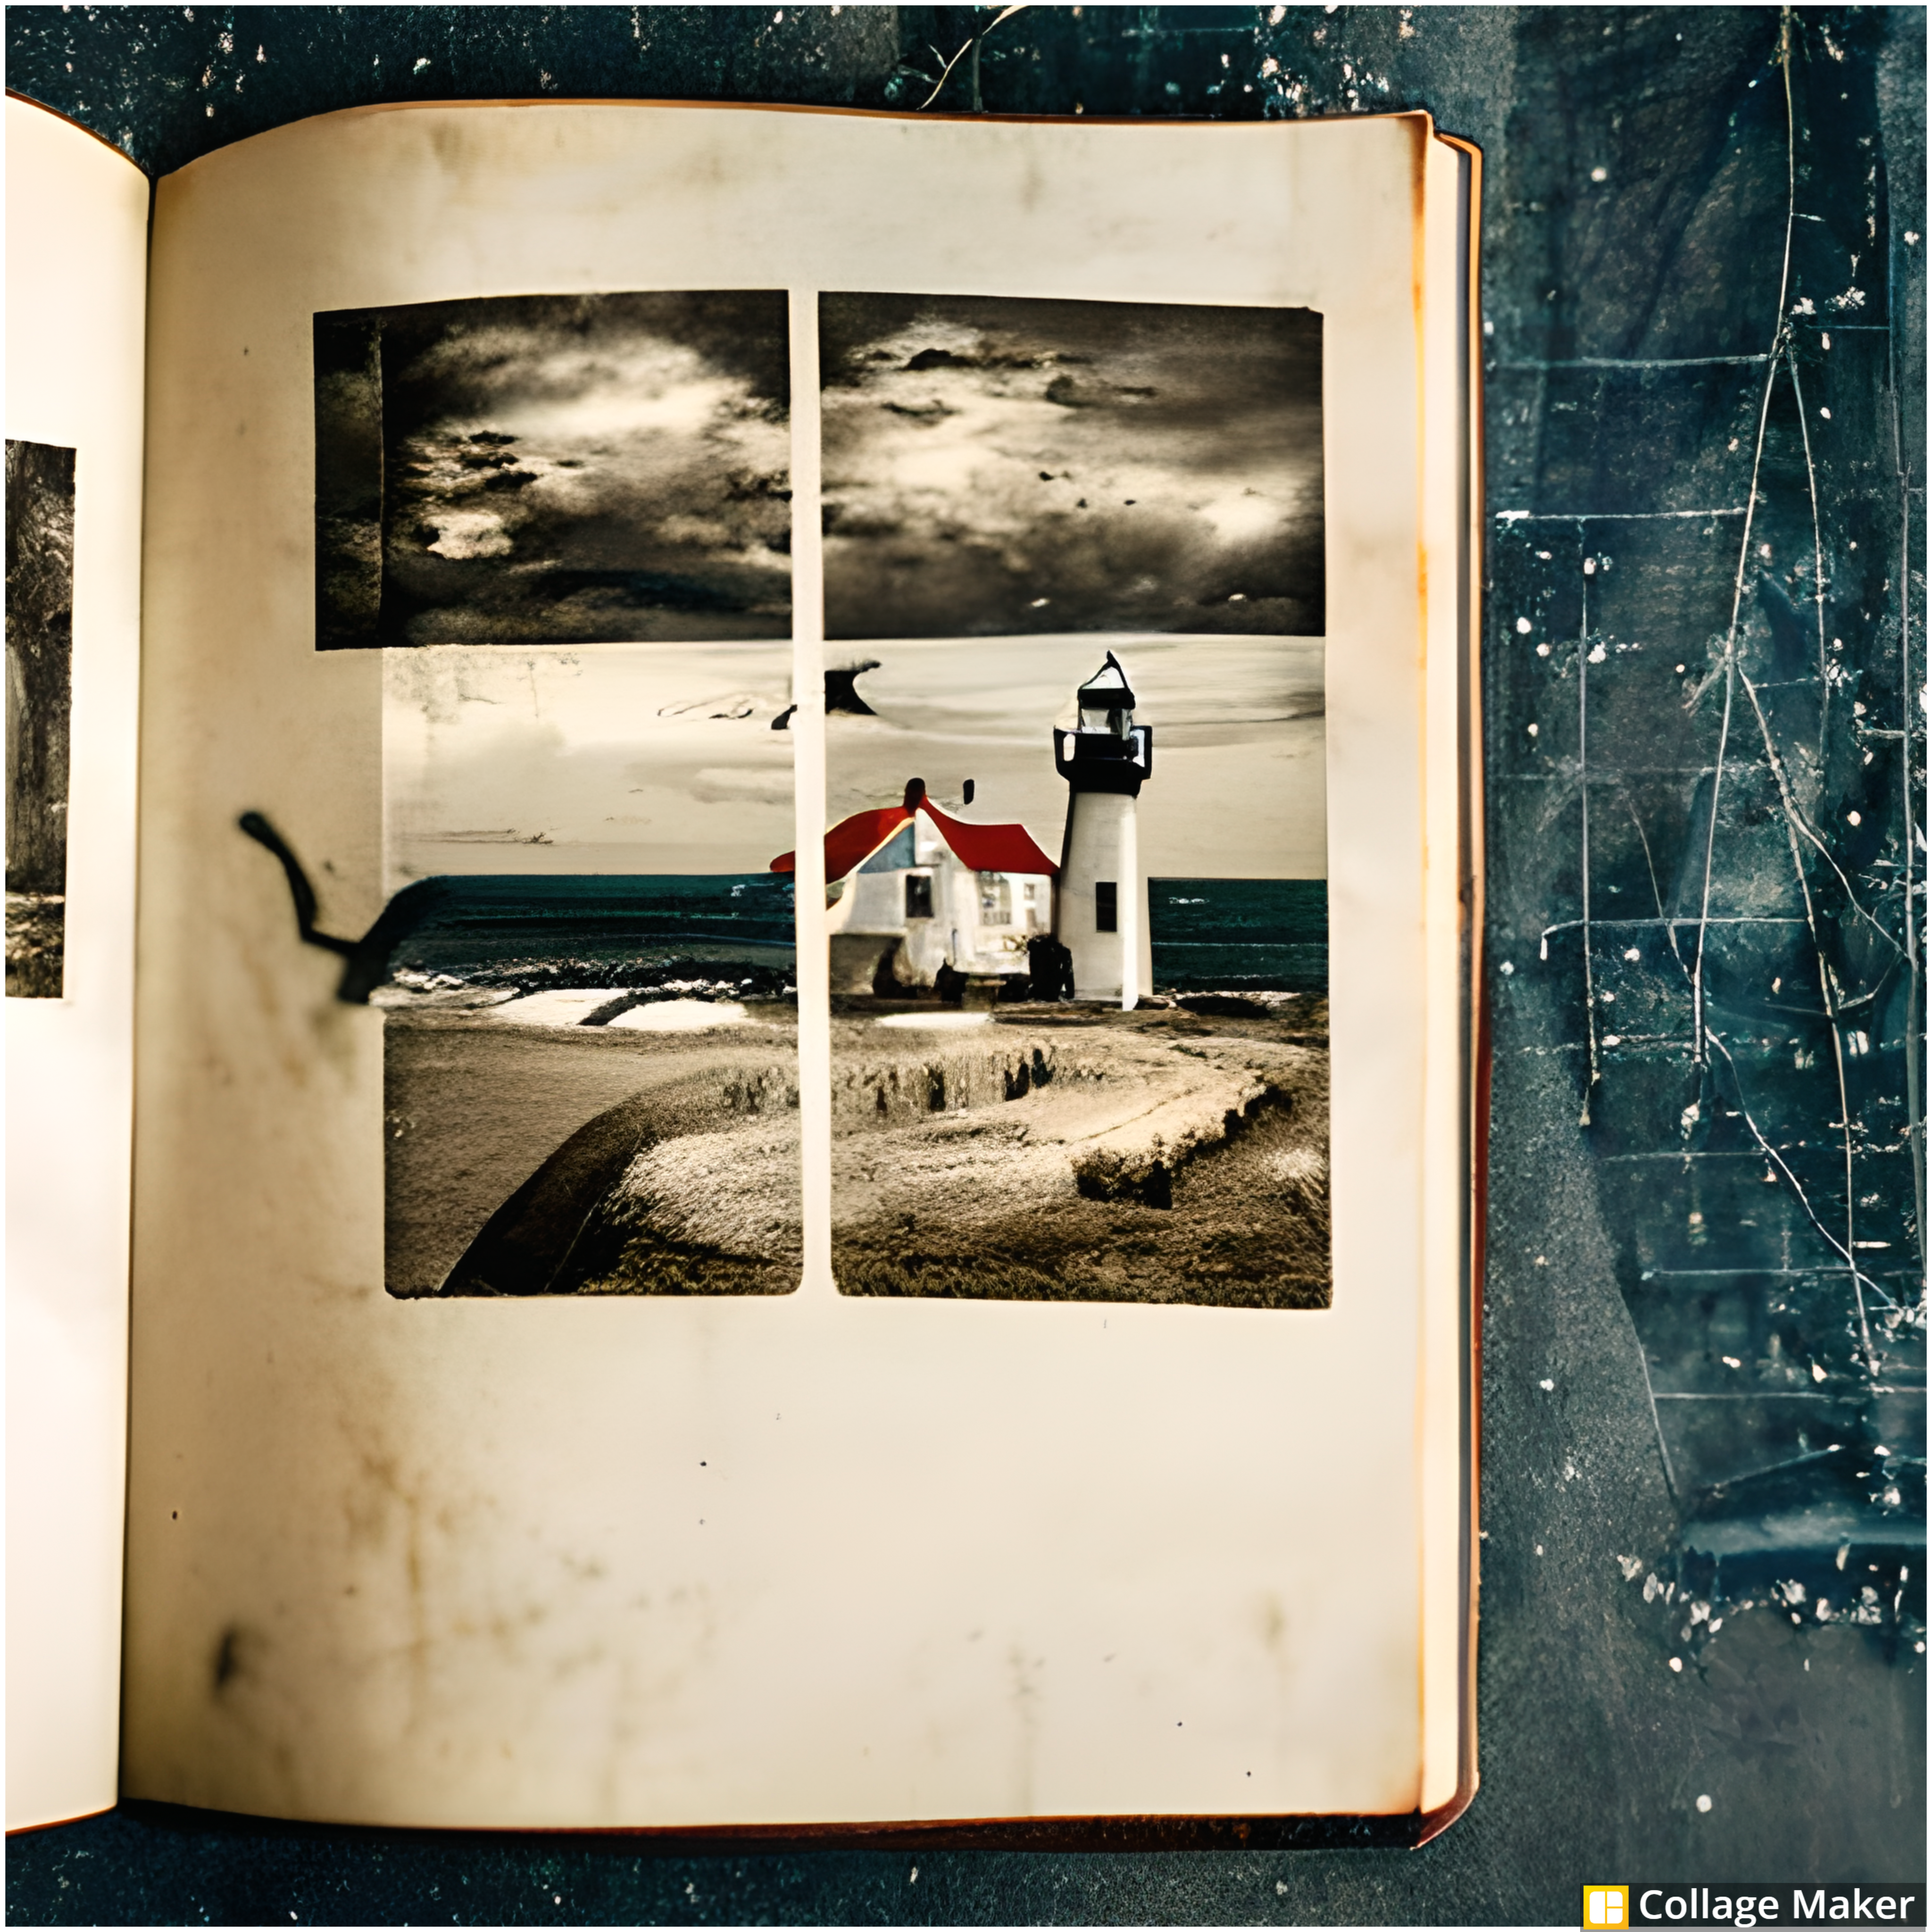
Here the frame is made up of a mask and an open book with a fat drop shadow. All images Bina Greene.
You can also use a layer mask to add a lens flare to the image. By doing this, you will make them stand out more and it will be easier to scrapbook.
Finally, you can use a vignette to emphasize your images. This can be done by adding a dark border around the photo. You can also use a layer mask to add a vignette to the image. By doing this, you will make the image stand out more and it will be easier to scrapbook.
Here is a link to the free gallery template. A perfect way to emphasize your photos.
5. Add a drop shadow for emphasis
Drop shadows are one of the easiest ways to add emphasis to your photos in digital scrapbooking. By simply adding a drop shadow to your photos, you can make them pop off the page and really stand out. To add a drop shadow to a photo, all you need to do is select the image, then click on the “FX” button at the bottom of the layer panel. From there, you will want to select the “Drop Shadow” option.
Once you have selected the “Drop Shadow” option, a new window will open up where you can adjust the settings for your drop shadow. The first thing you will want to do is select the “Color” of your shadow. You can either select a color from the drop-down menu, or you can click on the “Color Picker” button and select a color from your image.
After you have selected the color for your shadow, you will want to adjust the “Opacity”. The opacity is how transparent the shadow will be. A higher opacity will make the shadow more visible, while a lower opacity will make it more transparent.
The next setting you will want to adjust is the “Angle”. This is the angle at which the light is hitting your image. A higher angle will create a more intense shadow, while a lower angle will create a softer shadow. The last setting you will want to adjust is the “Distance”. This is how far away from the photo the shadow will be.
A higher distance will create a more intense shadow, while a lower distance will create a softer shadow. Once you have your drop shadow settings the way you want them, simply click “OK” and your drop shadow will be added to your photo.
6. Create a title that tells the story
Your photos are telling a story, so why not give them a title that emphasizes this? Try to be creative and come up with a title that will intrigue your viewers and make them want to know more about the story your images are telling. If you’re stuck, try using a pun or a play on words. Whatever you do, make sure your title is reflective of the story your images are trying to tell.
Check out The Official Roadmap, all done up with editable titles.
7. Use embellishments sparingly
When it comes to embellishments, always remember that less is more. You don’t want your page to look like a hot mess, so it’s important to use them sparingly. That doesn’t mean you can’t use them at all, though. In fact, a few well-placed embellishments can really make your page pop. Here are a few tips for using embellishments sparingly:
1. Use them to highlight certain elements on your page. If you have a focal point on your page, like a photo or a certain piece of text, you can use embellishments to draw attention to it. This is a great way to make sure your page doesn’t look too busy.
2. Stick to a limited color palette. Using a limited color palette for your embellishments will help to create a cohesive look on your page. It will also help to make sure your page doesn’t look too busy.
3. Use a variety of sizes. Using a variety of sizes will add interest to your page. Just make sure you don’t use too many different sizes, as this can also make your page look too busy.
4. Stick to a few simple shapes. Using a variety of shapes can also add interest to your page. Again, just make sure you don’t use too many different shapes, as this can also make your page look too busy.
5. Use them to frame your images. Framing your photos with embellishments is a great way to make them stand out. It’s also a great way to use embellishments sparingly, as you’re only using them around the edges of your images.
6. Use them to create clusters. Clustering a few embellishments together is a great way to add interest to your page. Just make sure you don’t overcrowd your page with too many clusters.
7. Use them to add texture. Adding texture to your page with embellishments is a great way to add interest. Just make sure you don’t use too many different textures, as this can also make your page look too busy. Following these tips will help you to use embellishments sparingly, while still adding interest to your page. Just remember, less is always more when it comes to embellishments.

Emphasis on photos.
Digital scrapbooking is a great way to preserve your memories and photos. By following these 10 easy ways to emphasize your images, you can create beautiful and unique scrapbooks that will be cherished for years to come.

Check these:
5th anniversary tutorial: Journaling Made Easy
See all greene edition anniversary tutorials here

