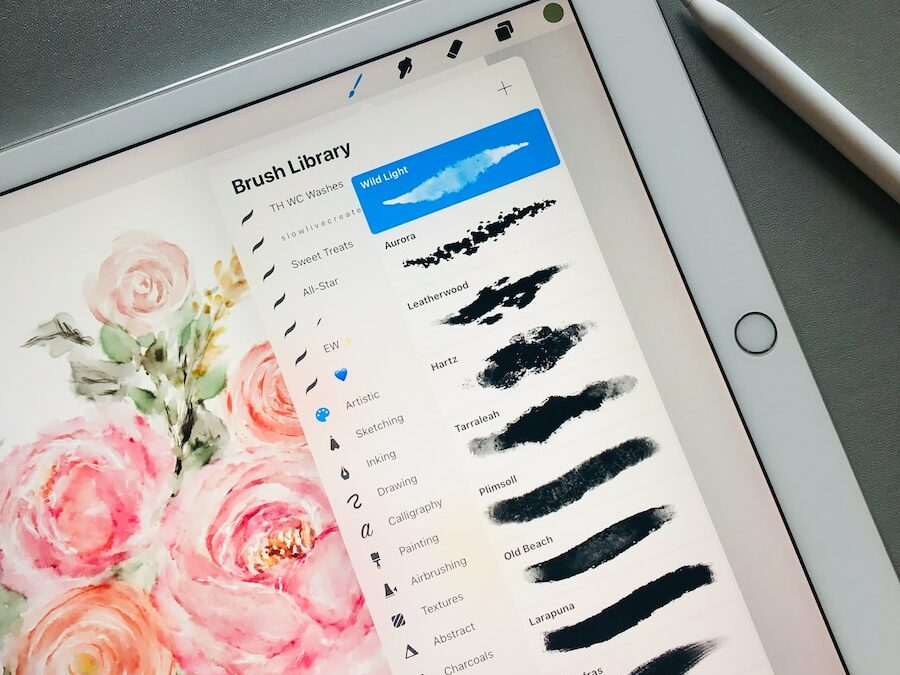
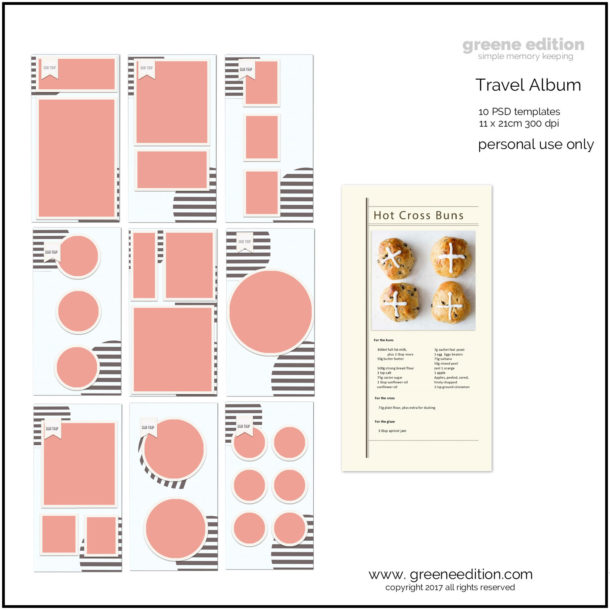
iPad: Create a Digital Scrapbook While Traveling
No matter where you are in the world, you can create and share a beautiful digital scrapbook of your adventures with just a few taps on your iPad. With a little creativity and some guidance, anyone can create a stunning travel scrapbook that will be cherished for years to come.
There are many advantages to creating a digital scrapbook while traveling. First, it’s incredibly easy and convenient to do with just your iPad. No need to lug around a bulky album or even extra paper and scissors – everything you need is right at your fingertips. Second, you can easily share your scrapbook with friends and family back home with just a few clicks. They can even add their own photos and messages to your album, making it a truly collaborative effort.
So whether you’re planning your next big trip or just enjoying a staycation, why not try your hand at making a digital scrapbook? It’s a great way to document your memories and share your experiences with the people you love.
1. Download a scrapbooking app on your iPad. 2. Take photos of your travels. 3. Use the app to create a digital scrapbook. 4. Decorate your pages with photos, text, and other objects. 5. Share your scrapbook with friends and family. 6. Save your scrapbook to your iPad. 7. Print your scrapbook when you get home.
iPad: Create a Digital Scrapbook While Traveling
School is out for summer and that can only mean one thing – it’s time to start planning your next great adventure! But why not document your travels in a whole new way by creating a digital scrapbook on your iPad? A digital scrapbook is a great way to document your travels and share your experiences with friends and family. You can include photos, videos, journal entries, and anything else you want to remember about your trip. Plus, it’s easy to create and share your scrapbook on social media or even print it out to keep as a physical memento. Here are some tips to get started:
- Choose a scrapbooking app: There are lots of great scrapbooking apps available, so take some time to explore and find the one that works best for you. Some popular options include Pic Collage, Clips, and MyCanvas.
- Gather your materials: In addition to your iPad, you’ll need some other supplies to create your scrapbook. This might include a digital camera or phone to take pictures, a laptop to transfer files, and any other mementos you want to include (such as boarding passes, tickets, etc.).
- .Start planning: Once you have all your materials, it’s time to start planning your scrapbook. Decide what kind of theme you want for your scrapbook and what kind of story you want to tell. This will help you determine what to include and how to layout your pages.
- Collect your photos and videos: Now it’s time to start gathering your content. This might include taking new photos or videos, or transferring files from your camera or laptop. Be sure to edit and organize your files so they’re easy to find later.
- Begin creating your pages: Start by adding photos, videos, and other content to your scrapbook pages. You can also include text, stickers, and other embellishments to make your pages more personal.
- Share your scrapbook: Once you’ve finished creating your scrapbook, you can share it with friends and family online or even print it out to keep as a physical memento. So what are you waiting for? Start planning your next adventure and create a digital scrapbook to document your travels!
1. Download a scrapbooking app on your iPad.
One way to document your travels is to create a digital scrapbook using an app on your iPad. This can be a great way to share your photos and experiences with friends and family, and it also allows you to keep a visual record of your travels. There are a number of scrapbooking apps available, so take some time to explore a few and see which one you prefer. Some apps may be more user-friendly than others, or offer more features.
Once you’ve settled on an app, download it onto your iPad and get started! Creating a digital scrapbook is a fun and unique way to document your travels. It’s also a great way to share your photos and experiences with others. So why not give it a try on your next trip?
2. Take photos of your travels.
As you document your travels with photos, also be sure to take some time to create a digital scrapbook page or two! This is a great way to keep all of your memories in one place, and you can even share it with friends and family.
To create a digital scrapbook page, you’ll first want to gather all of the photos you want to include. You can either choose photos that all go together thematically, or just pick out your favorites. Once you have all of your photos, decide on a layout. You can either go with a traditional scrapbook page layout, or get creative and try something new.
Once you have your layout, it’s time to start adding your photos, captions, and any other elements you want to include. Creating a digital scrapbook is a great way to document your travels, and it’s also a lot of fun! So be sure to give it a try the next time you’re on the road.
 3. Use the app to create a digital scrapbook.
If you’re anything like me, you love to travel. Seeing new places, experiencing different cultures – it’s all incredibly exciting. And what better way to remember your travels than by creating a digital scrapbook on your iPad? With the built-in camera and photo editing capabilities, it’s easy to create a beautiful, shareable travel journal that will last a lifetime.
To get started, open the app and create a new project. Give your project a title and start adding photos. You can add photos from your camera roll, or take new photos directly within the app. Once you have your photos added, you can start adding text, captions, and even audio recordings to document your trip.
If you’re feeling really creative, you can even add some embellishments to your photos using the built-in editing tools. You can crop, rotate, and adjust the brightness and contrast of your photos to make them look just perfect. When you’re finished, your digital scrapbook will be a beautiful record of your travels.
4. Decorate your pages with photos, text & other objects.
Creating a digital scrapbook is a great way to keep your memories from your travels alive. iPad is a great tool for this, as it’s portable and easy to use. Here are some tips on how to decorate your pages and make them really stand out.
Photos are a given for any scrapbook, and travel photos are no exception. But don’t just add any old photo – try to curate them and tell a story with them. For example, if you’re creating a scrapbook about your trip to Italy, choose photos that highlight different aspects of the country – the food, the architecture, the landscape. And don’t forget to add captions! A few well-chosen words can really bring a photo to life. Text can be a great way to add more information to your pages.
If you’re not a big fan of writing, consider adding quotes from articles or posts you read while on your trip. Or jot down a few key memories and thoughts. This can be a great way to add some personality to your scrapbook.
Finally, don’t forget the power of objects. Maps, postcards, and souvenirs can all be great additions to your pages. Not only do they add more visual interest, but they can also help tell the story of your trip. So – have fun!
5. Share your scrapbook with friends and family.
One of the great things about creating a digital scrapbook is that you can easily share it with friends and family. There are a number of ways to do this, depending on what platform you’re using and how you want to share your scrapbook.
If you’re using an iOS device, one of the easiest ways to share your scrapbook is to use the built-in sharing features of the Photos app. To do this, simply open the app, select the scrapbook you want to share, and tap the share button. From there, you can choose how you want to share your scrapbook, whether it’s by email, Message, or another app.
Another easy way to share your scrapbook is to use a cloud-based service like Dropbox or Google Drive. With these services, you can simply upload your scrapbook to the cloud and then share it with whoever you want, whether it’s by sending them a link or giving them access to the entire scrapbook. If you’re looking for a more specific way to share your scrapbook, there are a number of apps that allow you to do just that.
For example, there are apps that allow you to create a website for your scrapbook, or even an app that allows you to print your scrapbook as a physical book. No matter how you choose to share your scrapbook, it’s easy to do with today’s technology.
6. Save your scrapbook to your iPad.
One of the great things about digital scrapbooking is that you can do it anywhere, including on your iPad. You can even save your scrapbook to your iPad so you can work on it whenever you have a free moment, whether you’re at home or on the go. Here’s how to save your scrapbook to your iPad:
- First, make sure you have the iBooks app installed on your iPad. If you don’t have it, you can download it for free from the App Store.
- Open the iBooks app and tap the My Books tab at the bottom of the screen.
- Tap the + button in the top-left corner of the screen.
- Select the PDF option.
- Navigate to the location of your scrapbook PDF and select it.
- Tap the Open button.
- Your scrapbook will now be saved to your iPad and you can access it anytime by opening the iBooks app and tapping on the My Books tab. By saving your scrapbook to your iPad, you can take your scrapbooking with you wherever you go and work on it whenever you have a few minutes to spare. So next time you’re waiting in line at the grocery store or riding the bus to work, pull out your iPad and get scrapbooking!
When you start your digital scrapbook, be sure to include the date, time, and location of each photograph. You may want to add a story or description to accompany each photograph. By organizing your photos in this way, you’ll be able to look back and remember your amazing trip around the world, reliving all of the great memories!


